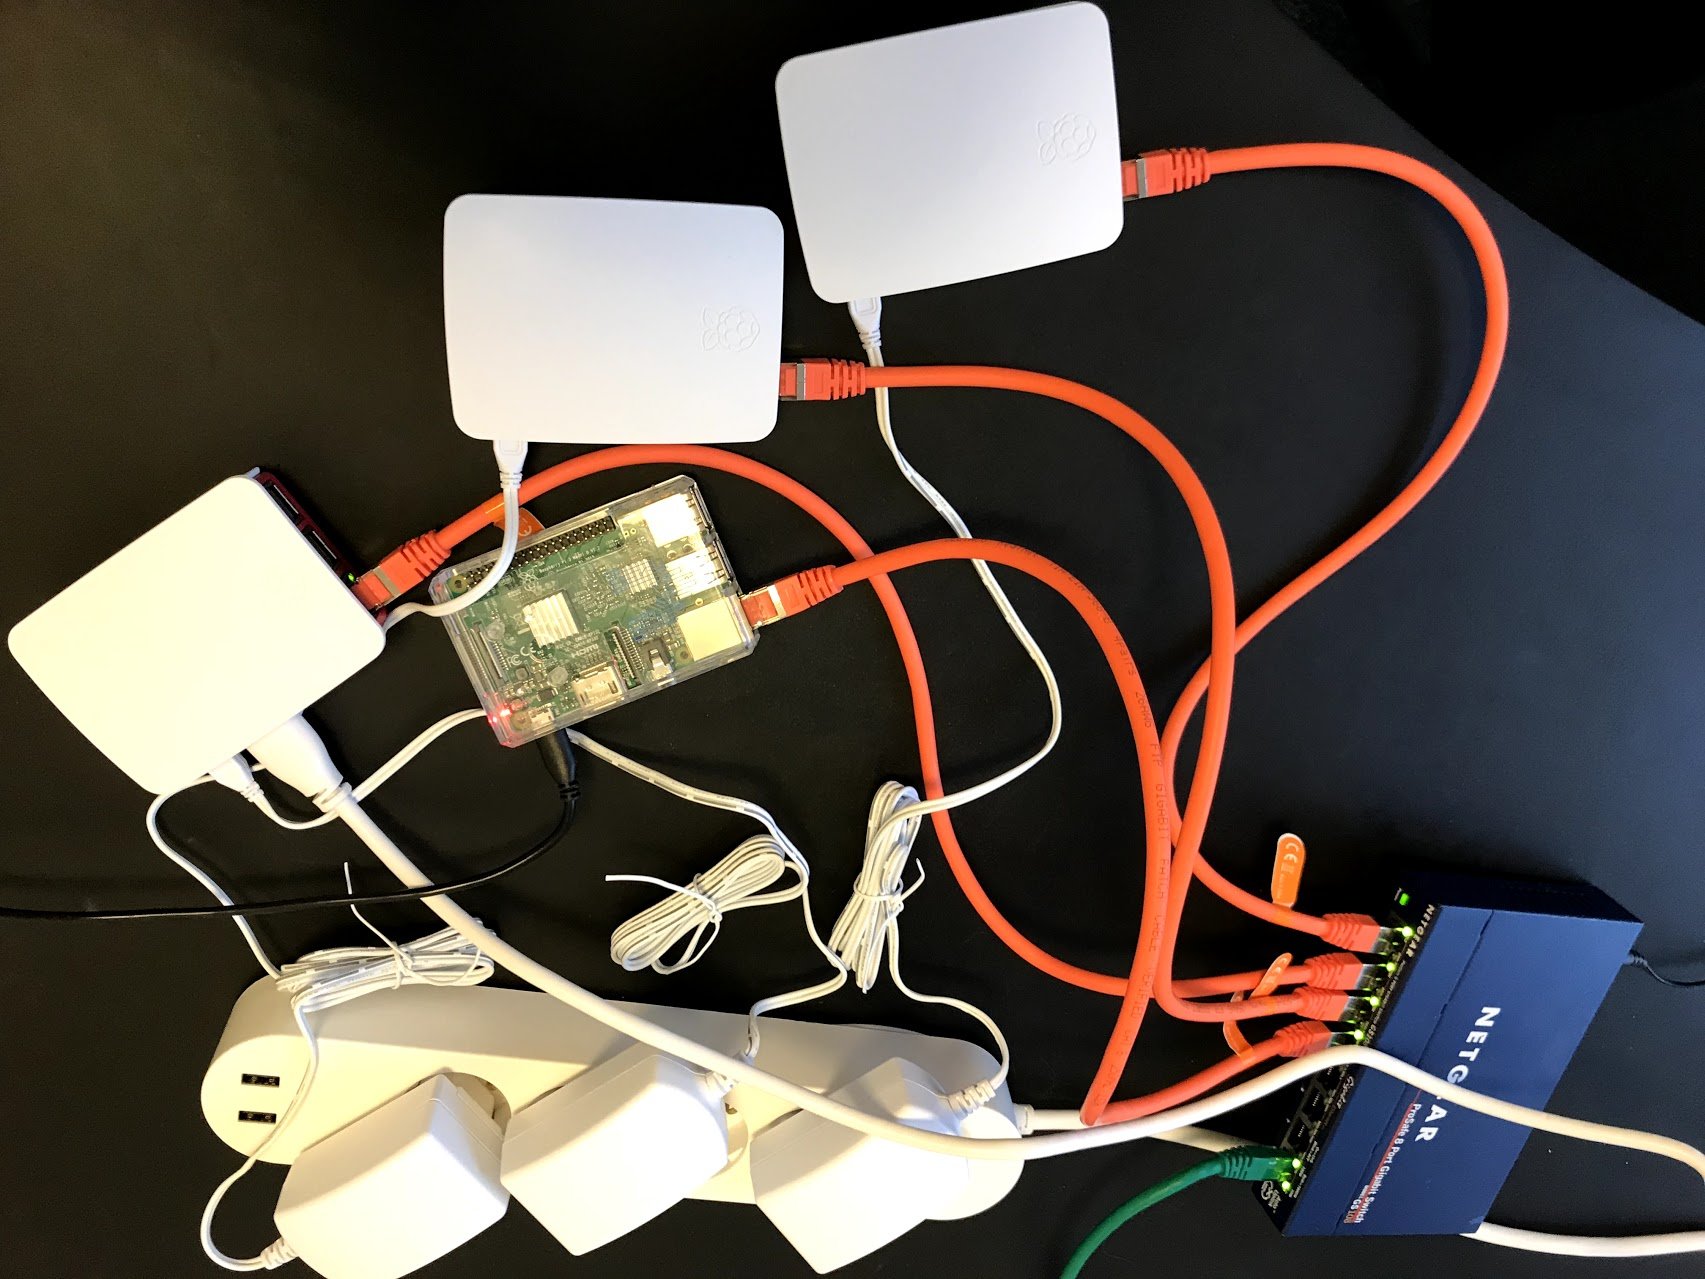
The Raspberry Pi 3 is the third generation Raspberry Pi, on this I will be installing Mulesoft enterprise runtime with latest Java 8 running inside Kubernetes. The pods will register themselves with Anypoint platform runtime manager.
This is not to be used as a guide for production, its the quick and dirty version ;)
The Kubernetes cluster features:
- 4x The Raspberry Pi 3 nodes
- A mule deployment of 2x pods with
mule-ee-distribution-standalone-3.9.0Oracle jdk1.8.0_162
- Automatic registration of pod in Anypoint Platform Runtime Manager on pod startup.
- Health monitoring
- A mule-service exposing cluster IP to the world.
- A dashboard

Raspberry setup
Raspbian is the raspberry’s officially supported OS which we will be using.
For the installation of Kubernetes on raspberry we will be following instructions from Kasper Nissen which has made an excellent blog post about this. Setup a Kubernetes 1.9.0 Raspberry Pi cluster on Raspbian using Kubeadm
When installation has completed, I suggest you change the default password on your raspberry’s with the default pi user and raspberry password to something different.
When the installation is done we now have:
- 1 master (192.168.1.x) called e.g red and
- 3 workers (192.168.1.x+1,+2,+3) called e.g pill1, pill2, pill3
Installing dashboard on Kubernetes
-
To get a simple system overview we will install Kubernetes Dashboard which is a general purpose, web-based UI for Kubernetes clusters login to red and run the command:
kubectl apply -f https://raw.githubusercontent.com/kubernetes/dashboard/master/src/deploy/alternative/kubernetes-dashboard-arm.yaml -
A quick way to access the dashboard is to run
kubectl edit svc/kubernetes-dashboard --namespace=kube-systemThis will load the Dashboard configuration (YAML) into an editor where you can edit it.
-
Change line type: ClusterIP to type: NodePort.
-
Get the TCP port it’s running on:
kubectl get svc kubernetes-dashboard -o json --namespace=kube-system -
Give privileges to the default service account run
kubectl create clusterrolebinding add-on-cluster-admin --clusterrole=cluster-admin --serviceaccount=kube-system:default -
Get the default service accounts token
kubectl describe secret default -
Add the token to your Browser HTTP request with a add-on.
Authorization : Bearer <token>
Without passing the token you will see a dashboard but get errors like:
_deployments.apps is forbidden: User "system:serviceaccount:kube-system:kubernetes-dashboard" cannot list deployments.apps in the namespace "default"_
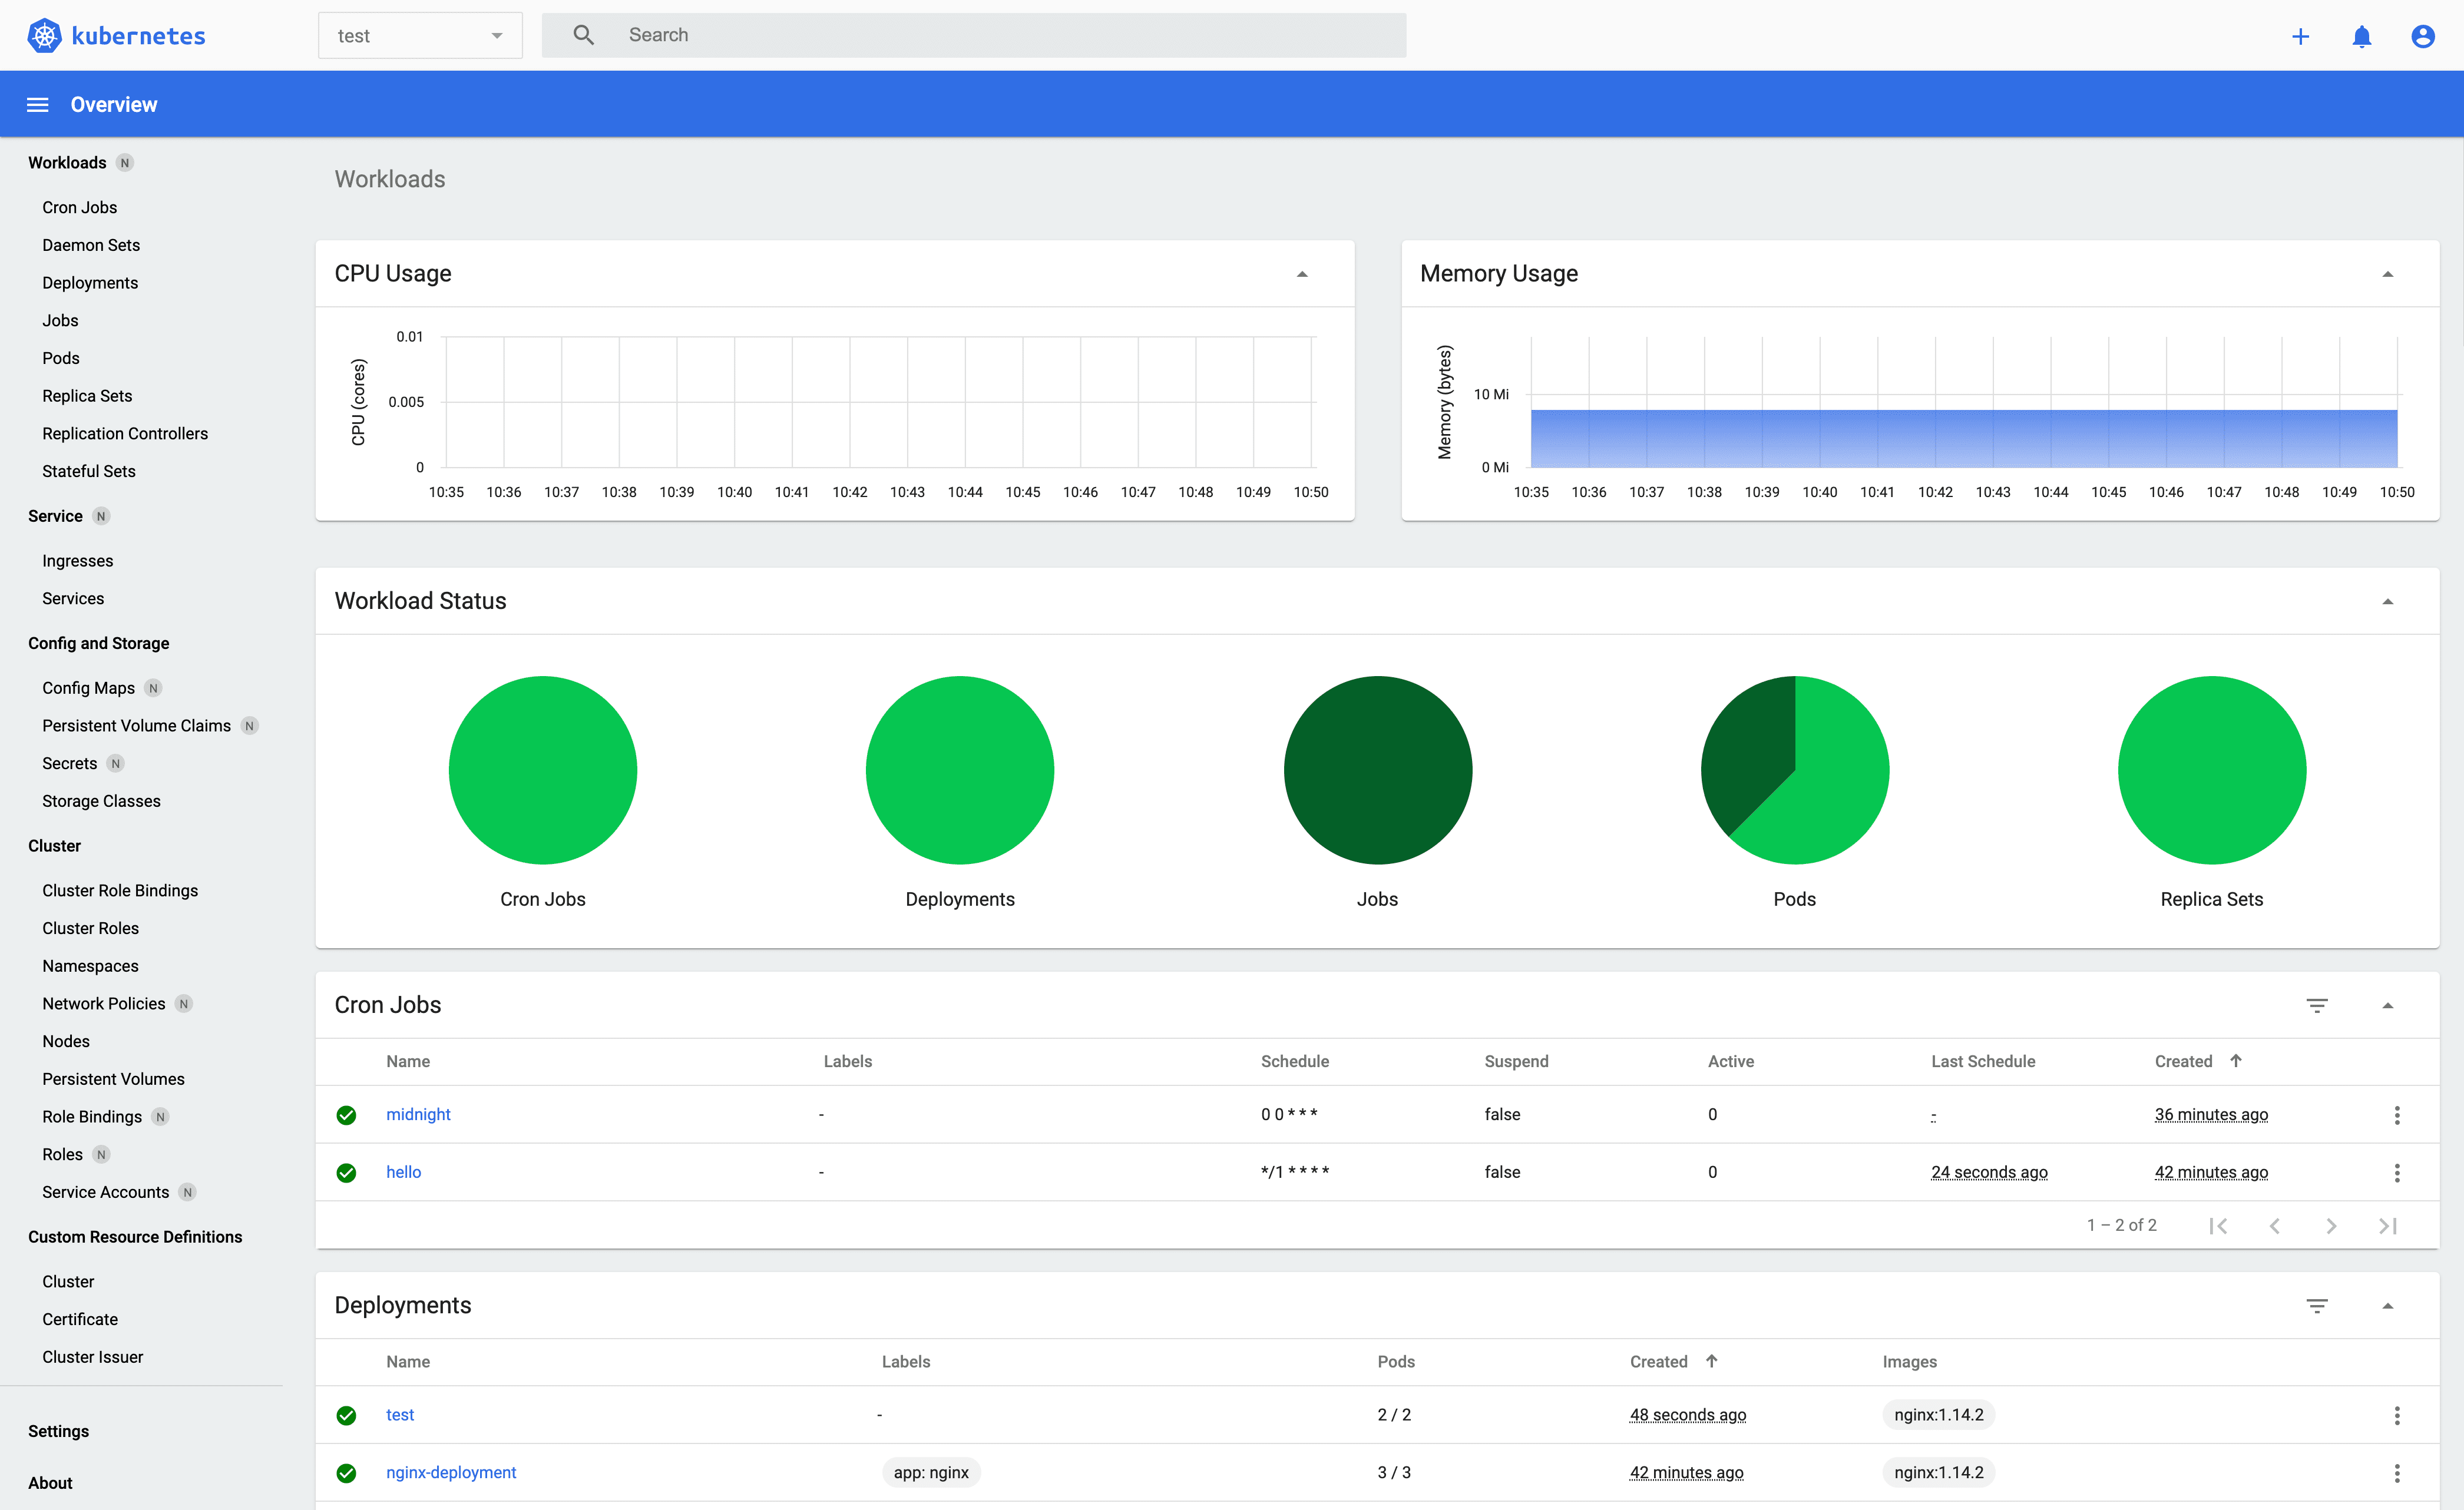
You should now be able to visit http://<external ip of red>:<nodeport>/#!/deployment?namespace=default and see as pictured below.

Build docker image for arm on Linux
My last post on Mulesoft Enterprise Standalone Runtime on Raspberry Pi 3 with docker I was building on the raspberry. This time I build it from Linux, and to be able to do so I’ve run this docker image
docker run --rm --privileged multiarch/qemu-user-static:register --reset
Running a local docker registry to feed the nodes
To send my docker image to Kubernetes I’m running a local docker registry
docker run -d -p 5000:5000 --restart=always --name registry registry:2
To make things easy for myself I just allowed unsecured access e.g. no HTTPS accept unsecured local registry.
# /etc/docker/daemon.json
{ "insecure-registries":["<ip of local registry>:5000"] }
On the machine pushing to registry and on the pods retrieving from registry.
Configure docker image
The docker image for running mule on docker/arm has been updated to a newer mule runtime and compressed a bit since my last post on this. e.g run commands have been chained. Its also been updated to handle a 404 error of oracle-jdk8-installer and using the latest version available at the time of this writing.
git clone https://github.com/simonvalter/Dockerfiles.git
The file mule-ee-3.9/startMule.sh should be modified with your Anypoint platform credentials for automatic registration,
e.g. to:
username="myuser"
password="mypassword"
orgName="Redpill-Linpro Org"
envName="Dev"
serverName=$(hostname -f) # we want unique names to be registered in anypoint platform runtime manager
Build docker image
cd Dockerfiles/mule-ee-3.9
docker build --no-cache=true -t <ip of local registry>:5000/mule-ee:3.9.0 .
Shrink docker image
An optional step is to shrink the image size additionally as the nodes don’t have that much to give, and this will reduce it by about 30%.
For this, I’m using the python version of docker-squash, and on Ubuntu installing it would be:
sudo apt-get install pip
pip install docker-squash --user
export PATH=$PATH:/home/<your user>/.local/bin
docker-squash -t <ip of local registry>:5000/mule-ee:squashed <ip of local registry>:5000/mule-ee:3.9.0
Push docker image to registry
docker push <ip of local registry>:5000/mule-ee:squashed
Create and deploy a mule deployment on Kubernetes
---
# mule-deployment.yml
apiVersion: apps/v1 # for versions before 1.9.0 use apps/v1beta2
kind: Deployment
metadata:
  name: mule-deployment
  labels:
    app: mule
spec:
  replicas: 2
  selector:
    matchLabels:
      app: mule
  template:
    metadata:
      labels:
        app: mule
    spec:
      affinity:
        podAntiAffinity:
          requiredDuringSchedulingIgnoredDuringExecution:
          - labelSelector:
              matchExpressions:
              - key: app
                operator: In
                values:
                - mule
            topologyKey: "kubernetes.io/hostname"
      containers:
      - name: mule
        image: <ip of local registry>:5000/mule-ee:squashed
        ports:
        - containerPort: 8081
        readinessProbe:
          httpGet:
            path: /healthz
            port: 8087
          initialDelaySeconds: 120
          periodSeconds: 1
-
Here we are creating a deployment which is using podAntiAffinity to make sure that we don’t co-locate the pods on the same nodes, as its otherwise very likely that Kubernetes might just schedule a pod on the same node during fail-over when we have so few nodes and with so few resources it won’t work very well.
We are also calling a health check application on the mule runtime so there won’t be sent traffic to it in case it goes down for some reason.
As these nodes are quite slow to startup on raspberry we will wait about 120 seconds before checking.
-
After the deployment description has been created we will create it in Kubernetes:
kubectl create -f mule-deployment.yml -
Now we want to expose the deployment as a service to an external IP
kubectl expose deployment mule-deployment --type=LoadBalancer --name=mule-service --external-ip=<ip of red>Within minutes you should see it downloaded, deployed and running on your raspberry’s (2 of them).
-
Check with
$ kubectl get pods -o wide NAME READY STATUS RESTARTS AGE IP NODE mule-deployment-6b9d849cdc-2hv4r 1/1 Running 0 20h 10.34.0.12 pill2 mule-deployment-6b9d849cdc-qhzn6 1/1 Running 0 20h 10.38.0.15 pill1 -
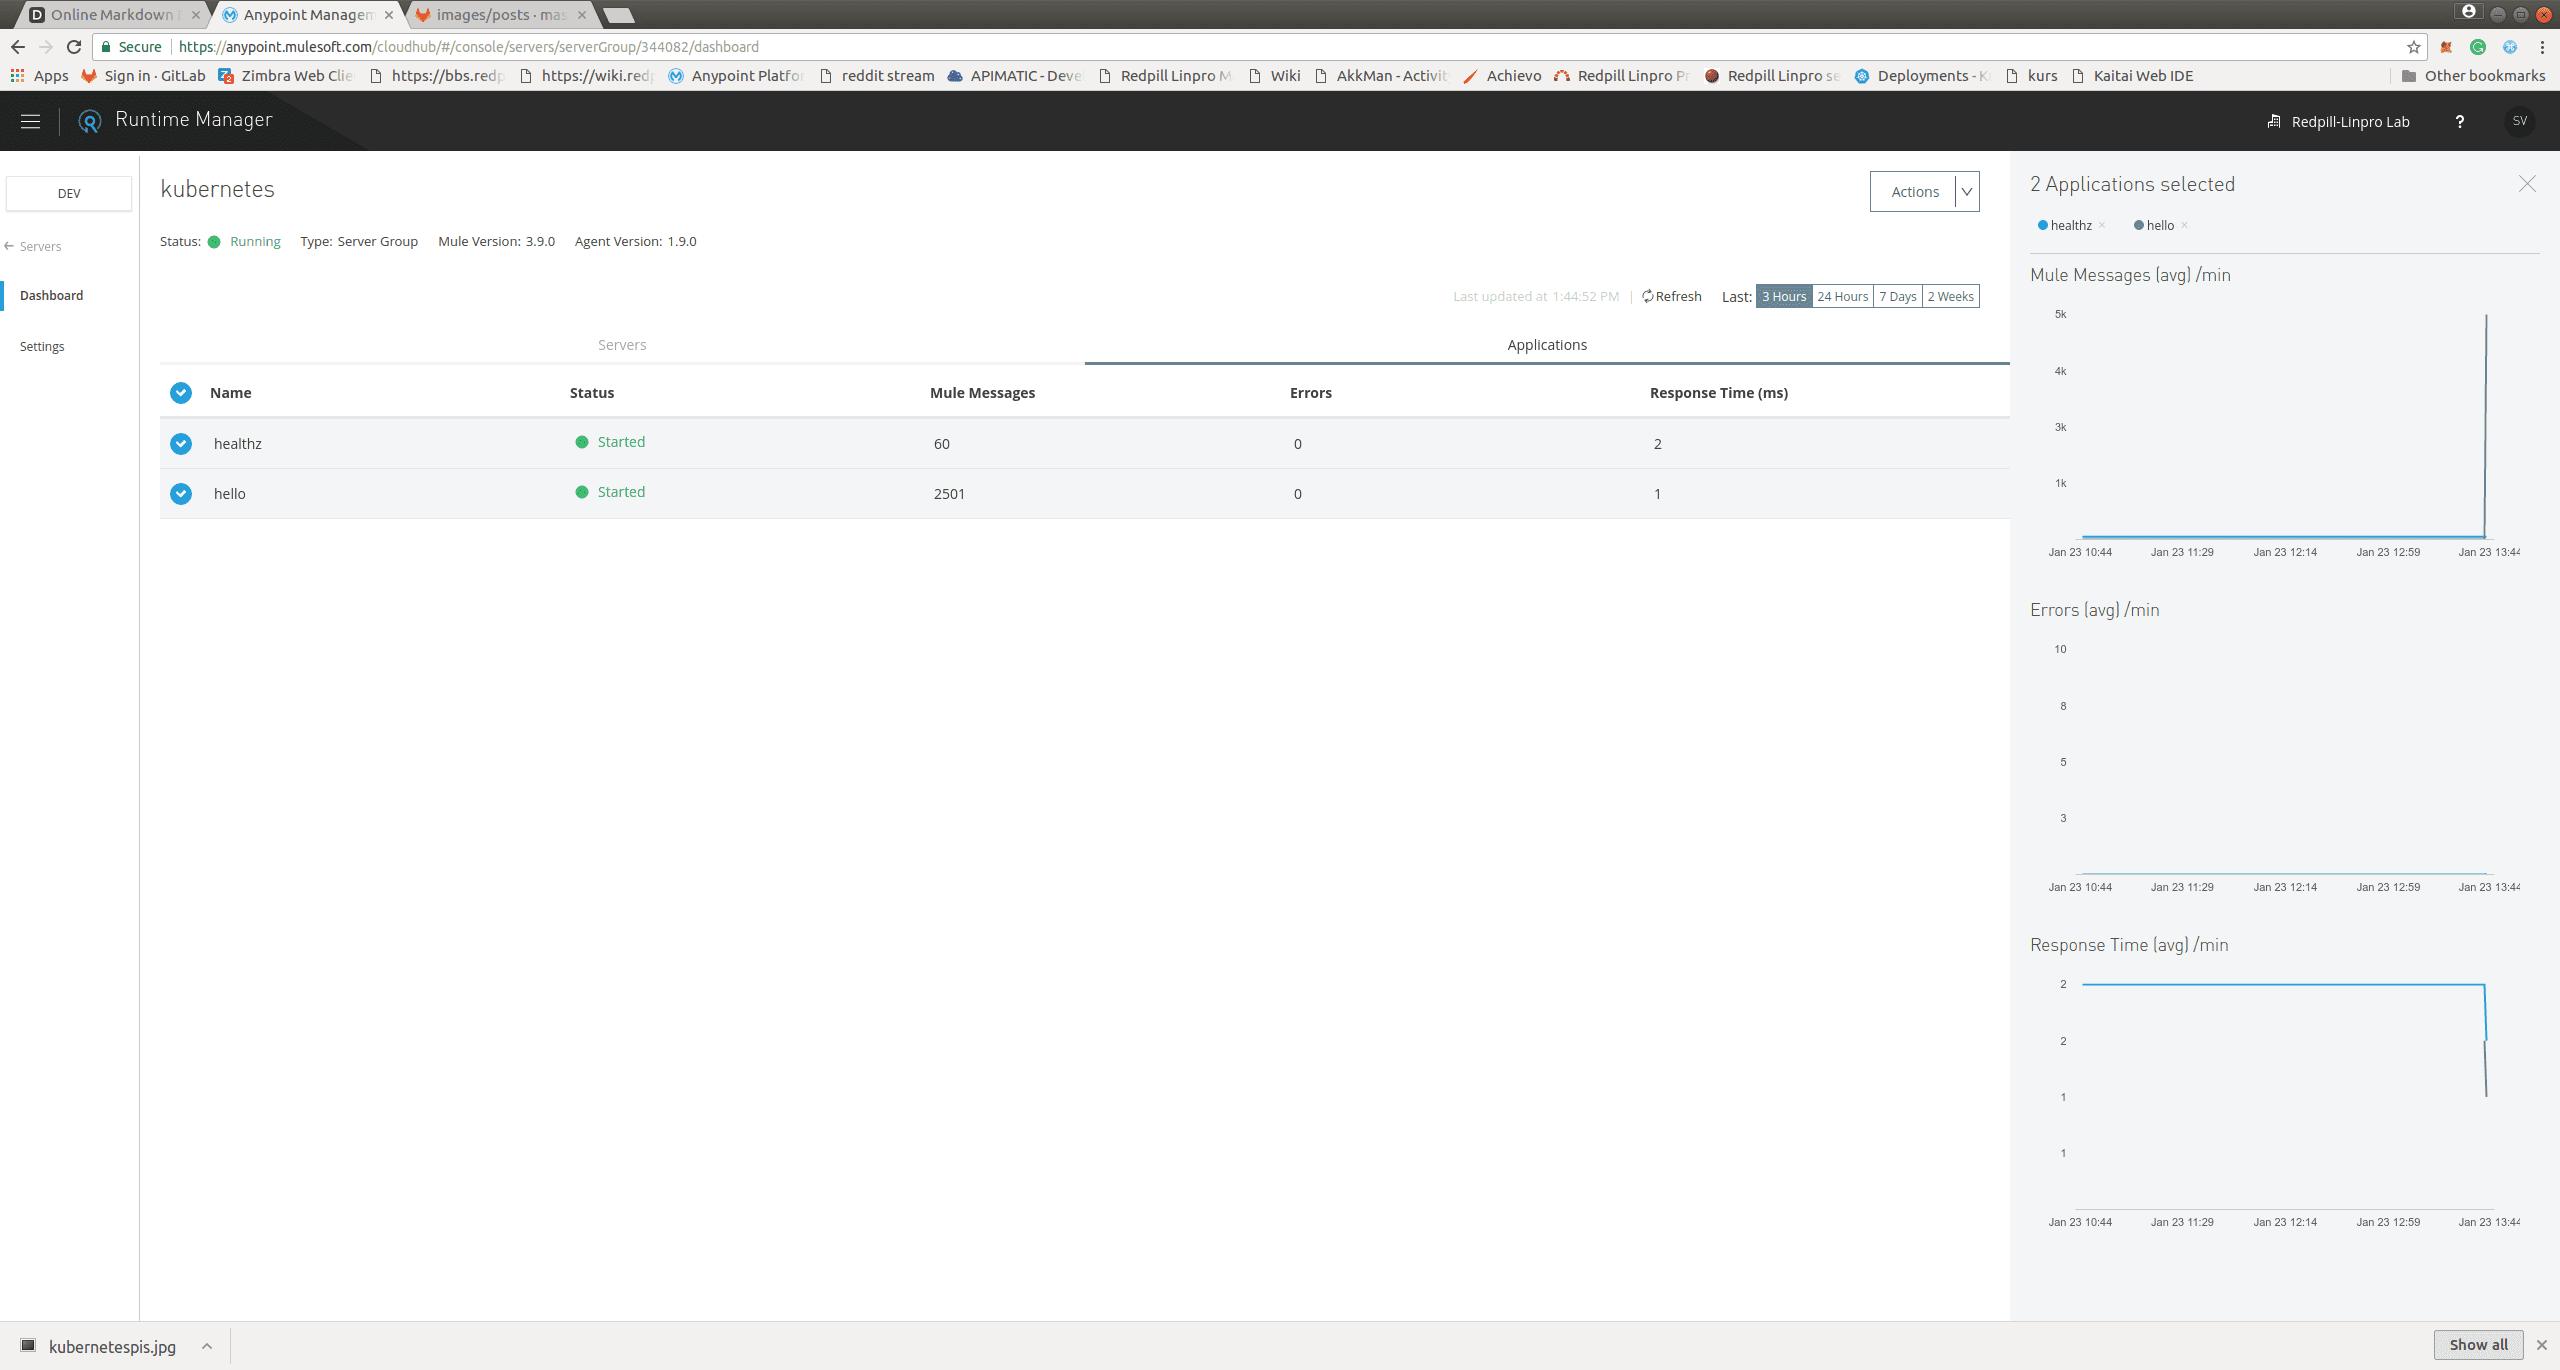
That’s it, on Anypoint platform the pods should have registered themselves, and in this case, I’ve put them into a group and deployed a health application that just returns 200 OK, and the Hello World example from Anypoint exchange. I’m setting the parameter http.port through runtime manager to the exposed port 8081.

-
We can now call the mule-service on the external IP and get the famous Hello World! response.
$ curl http://<external ip>:8081/helloWorld
>Hello World!

